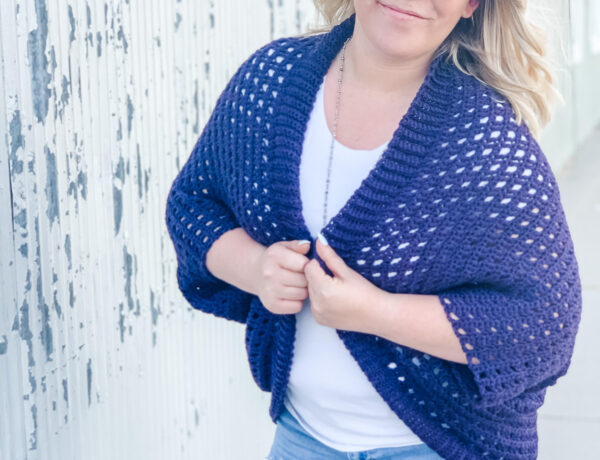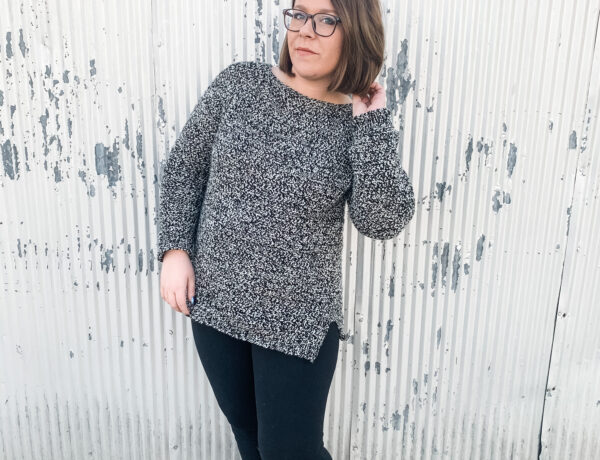
February is coming to a close, and that means I’m looking forward to spring. I know a lot of crocheters revel in cooler temps, but personally I like coming up with fresh new crochet ideas for the warmer months. When designing this top, I was picturing something comfortable with a lot of drape that I could wear home or out of the house. This crochet tunic is a great transitional piece. Wear it with a pair of leggings for a comfortable day in, or tuck it in (front only) to some high waisted jeans with your favorite flats for a chic date night look. I’ve always liked tunic length tops because they are so versatile. I made this crochet tunic extra easy to wear by adding 2″ of positive ease through the bust, and focusing on simple stitches to really let the yarn shine.
The Yarn
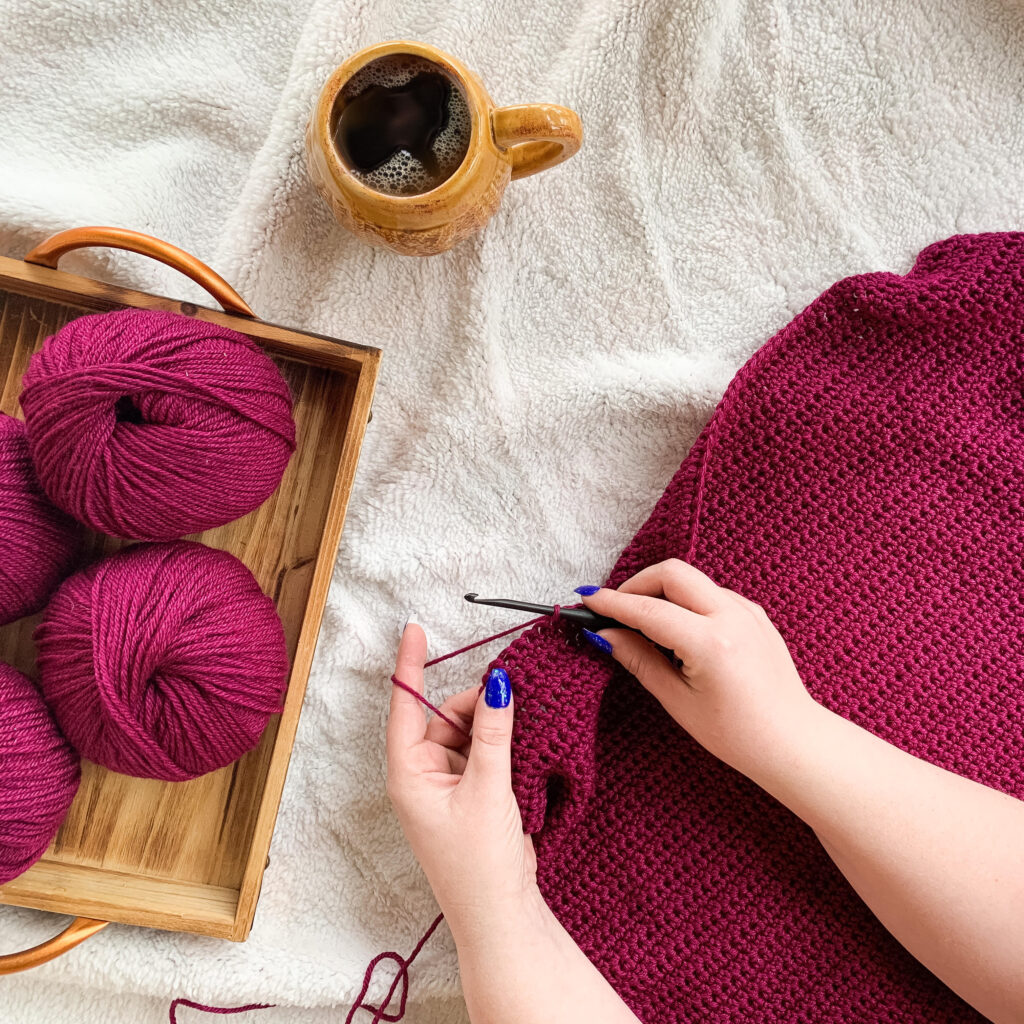
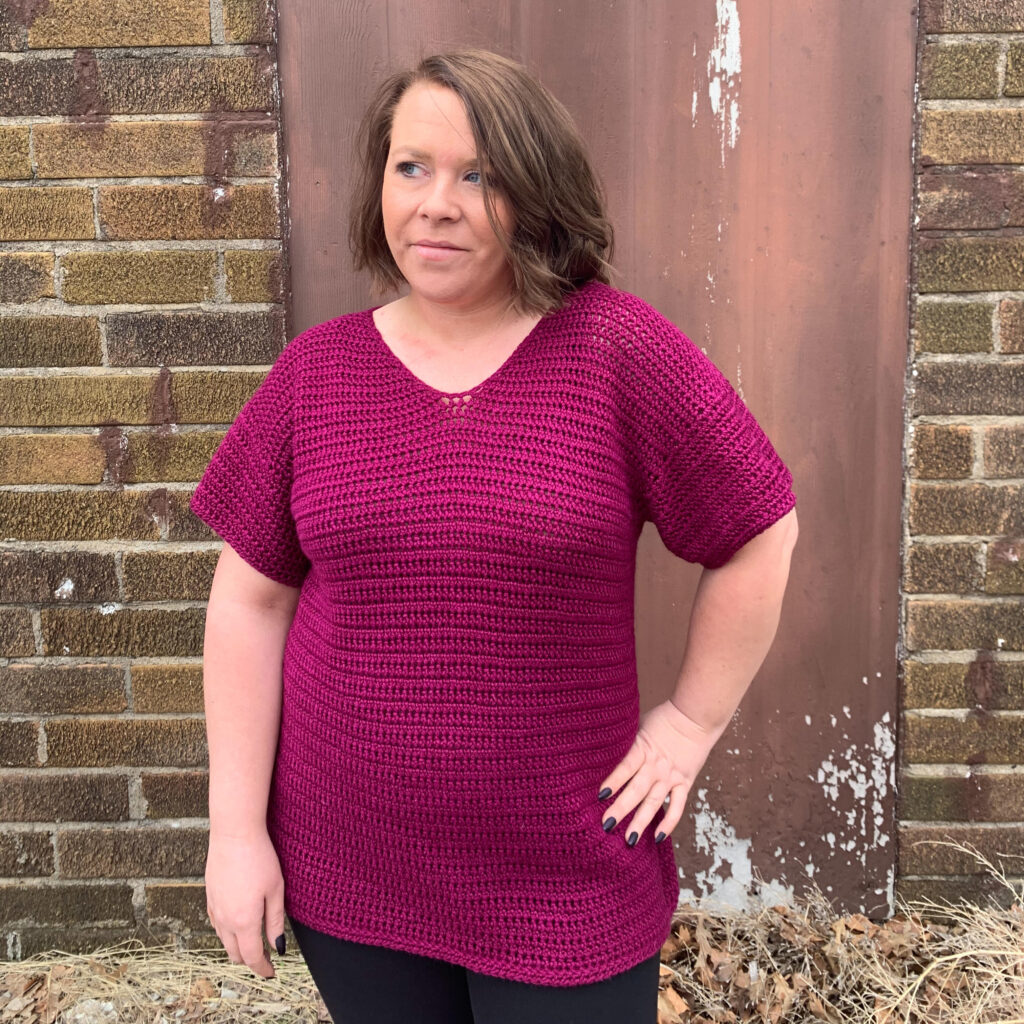
You guys, I may have just found my new favorite DK weight yarn! I know I’ve said it before, but this one is really special. Gloss DK from crochet.com is so luxurious! It’s 70% Merino wool and 30% Silk. I cannot rave enough about how great it feels on my skin. It has such a gorgeous sheen that picks up the light so beautifully. It comes in the most rich jewel tones, like Plume, which is what I used for the Ollie Tunic. Next on my must try list is the Masala colorway – a rusty brown orange that would be perfect for this crochet tunic.
The Fit
The fit of the Ollie Tunic is really flattering to any body type. I myself have somewhat of a pear shaped body, so I like something with a little breathing room through the stomach and hip area. I designed this top with 2″ of positive ease so it’s easy breezy to wear. The little v neck detail also draws the eye in. This top is so fun to wear! Just keep in mind that you’ll want to block your finished item to get that extra drape and open up the stitches.
The Pattern
You can keep scrolling down for the completely free pattern, or check out my Ravelry and Etsy shops to purchase an ad free PDF copy.
Materials Needed
- WeCrochet Gloss DK, 9 (10, 11, 11, 13, 14, 15, 16, 17) balls, or 1050 (1200, 1350, 1450, 1575, 1700, 1850, 2000, 2100) yards of a comparable DK weight yarn. Great substitutes from WeCrochet are Kindred or Swish DK.
- US H/5mm crochet hook or size needed to meet gauge
- Locking stitch marker
- Scissors
- Darning Needle
- Blocking supplies
Abbreviations
ch – chain
slst – slip stitch
esc – extended single crochet
hdc – half double crochet
fhdc – foundation half double crochet
st(s) – stitch(es)
sm – stich marker
pm – place marker
RS – right side
WS – wrong side
Notes
- Pattern is worked in two panels, which are then seamed together. Finishing is worked in the round after seaming.
- Sleeves are worked in the round, attached to the body.
- Pattern is written for sizes XS (S, M, L, XL, 2X, 3X, 4X, 5X).
- Stitch counts are indicated in < > where there is a change.
- Finished bust measurements are 32 (36, 40, 44, 48, 52, 56, 60, 64)
- Front and back panels are worked bottom up.
- Blocking your finished piece will allow your stitches to open up – for best results, do not skip this step!
Gauge
14 esc x 12 rows = 4” blocked
Pattern
Back Panel:
Row 1 (RS): Fhdc 57 (63, 71, 77, 85, 91, 99, 105, 113), ch 2, turn. <57, 63, 71, 77, 85, 91, 99, 105, 113>
Row 2 (WS): Esc in each st across, ch 2, turn.
Row 3 – 63: Repeat row 2.
Fasten off.
Front Panel:
Row 1 (RS): Fhdc 57 (63, 71, 77, 85, 91, 99, 105, 113), ch 2, turn. <57, 63, 71, 77, 85, 91, 99, 105, 113>
Row 2 (WS): Esc in each st across, ch 2, turn.
Rows 3 – 48: Repeat row 2.
Do not fasten off.
You will now work each side of the v neck separately. Count 29 (32, 36, 39, 43, 46, 50, 53, 57) sts from hook, mark this st with your sm.
Right Front:
Row 49: Esc until 2 sts before sm, sc 1, slst 1, turn. <28, 31, 35, 38, 42, 45, 49, 52, 56>
Row 50: Sk1, slst 1, sc 1, esc to end, ch 2, turn. <27, 30, 34, 37, 41, 44, 48, 51, 55>
Rows 51 – 62: Repeat rows 49 – 50. <15, 18, 22, 25, 29, 32, 36, 39, 43>
Row 63: Esc in each st across.
Fasten off.
Left Front:
Join yarn in st directly to the left of your sm, with right side facing you.
Row 49: Slst 1, sc 1, esc to end, ch 2, turn. <28, 31, 35, 38, 42, 45, 49, 52, 56>
Row 50: Esc until 2 sts before sm, sc 1, slst 1, turn. <27, 30, 34, 37, 41, 44, 48, 51, 55>
Rows 51 – 62: Repeat rows 49 – 50. <15, 18, 22, 25, 29, 32, 36, 39, 43>
Row 63: Esc in each st across.
Fasten off.
Seaming:
Lay your panels with the front panel on top of the other so that they are aligned, with right sides facing in.
Using your preferred seaming method (whipstich will work well with the esc), sew together the shoulder seams. Then, beginning from the bottom, sew together each side, leaving 20 (20, 23, 23, 23, 25, 25, 25, 25) rows unseamed. This will create the arm holes.
Sleeves:
Join yarn in underarm, at the first unseamed row of the back panel. Ch 2.
Round 1 (RS): Esc 58 (58, 62, 62, 62, 66, 66, 66, 66) evenly around, join with slst to first st, ch 2, turn. <58, 58, 62, 62, 62, 66, 66, 66, 66>
Round 2: Esc in each st around, join with slst to first st, ch 2, turn.
Rounds 3 – 12 (12, 12, 14, 14, 14, 16, 16, 16): Repeat round 2.
Round 13 (13, 13, 15, 15, 15, 17, 17, 17): Hdc in each st around, join with slst to first st, ch 1, turn.
Round 14 (14, 14, 16, 16, 16, 18, 18, 18): Hdc in the 3rd loop of each st around, join with slst to first st. Ch 1 (do not turn).
Round 15 (15, 15, 17, 17, 17, 19, 19, 19): Hdc in the 3rd loop of each st around, join with slst to first st.
Fasten off, repeat for the opposite sleeve.
Finishing:
Bottom Hem:
Join yarn in foundation row at either side seam, ch 1.
Round 1: Hdc in the 3rd loop of each st around, join with slst to first st. Ch 1 (do not turn).
Round 2: Hdc in the 3rd loop of each st around, join with slst to first st.
Fasten off.
Neckline:
With RS facing you, join yarn at either shoulder seam in the neck hole. Work one round of slst, working a slst into each row end.
Weave in all ends and block using your preferred method. Sample was wet blocked.
I hope you loved this pattern! If you make your own Ollie Tunic, I’d love to see pictures! Tag me on social media @hookedhazel and use the hashtag #ollietunic