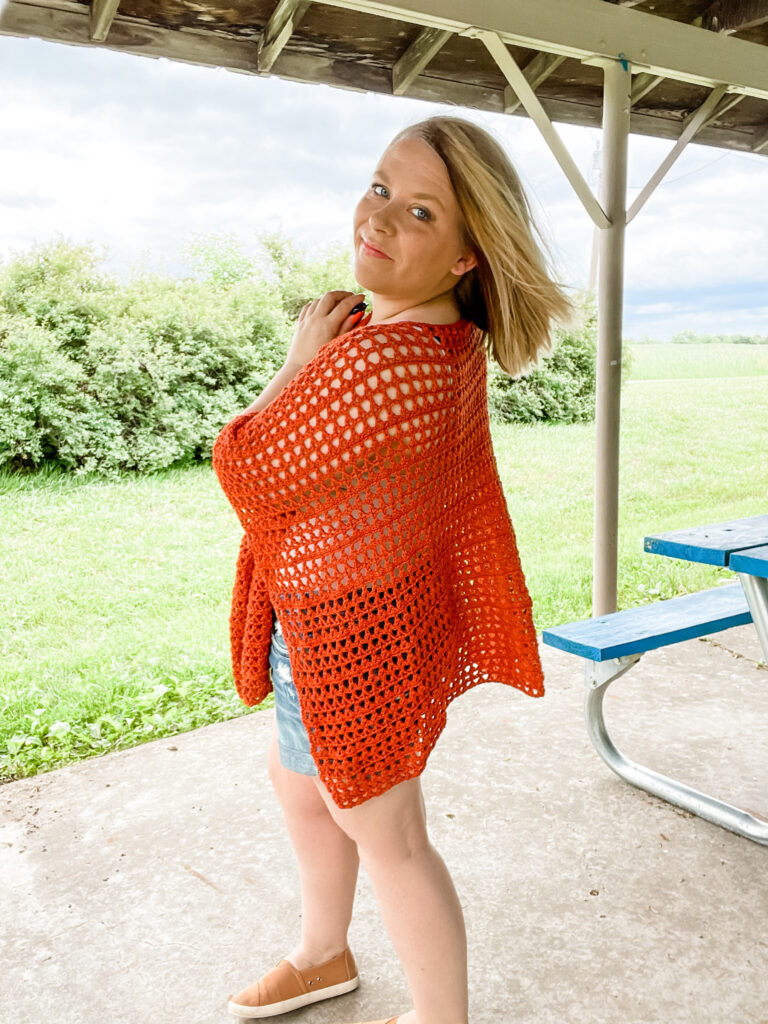
Summer is finally here and it’s time for some fun in the sun! I love wearing breezy, light layers when it’s warm out. I’ve never felt super comfortable showing a ton of skin, so my wardrobe is full of things I can throw on over a swimsuit or pair of shorts and tank. That’s exactly what I designed the Jules Poncho for. It’s a lightweight, mesh crochet poncho that can be worn a bunch of different ways. Throw it on for a day at the beach or for shopping at the farmer’s market. My favorite thing about this crochet poncho is how easily it will transition to fall.
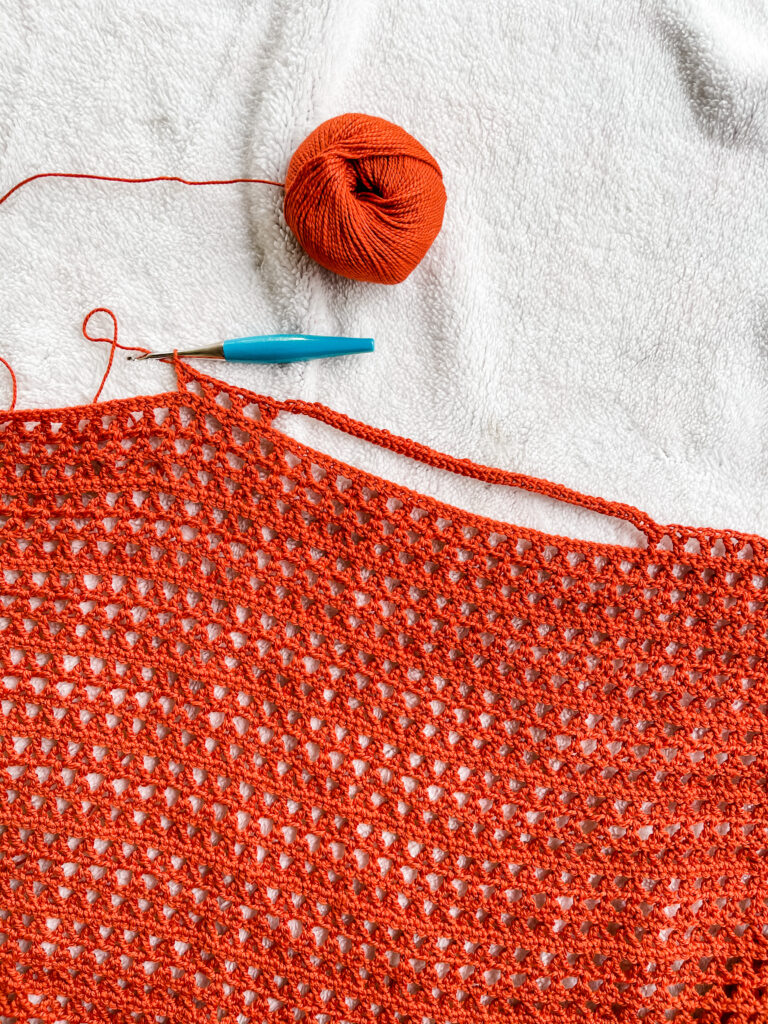
This poncho is made using a sport weight yarn, and a combination of single crochet and Y stitches. It has a mesh appearance and is perfectly lightweight for summer.
The Yarn
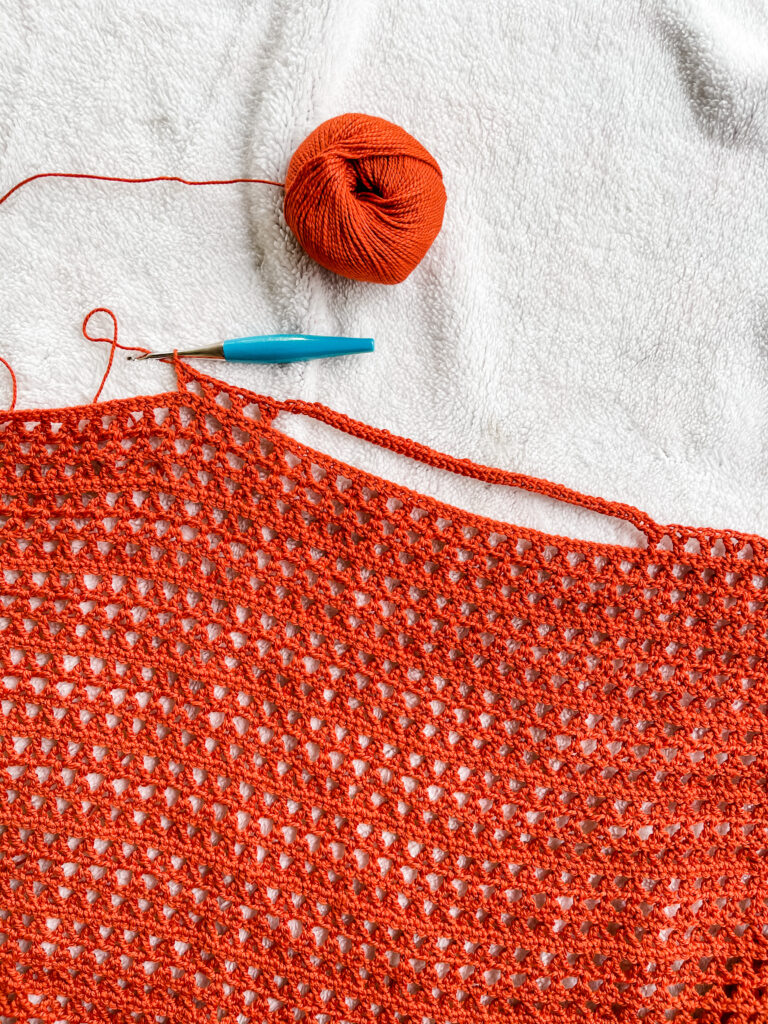
For this poncho I used Galileo from WeCrochet. This sport weight yarn is a 50/50 blend of merino wool and viscose from bamboo. It has a gorgeous sheen, and wonderful drape! The construction of this yarn is quite beautiful as well, with a defined twist that offers excellent stitch definition. It is offered in a ton of gorgeous jewel tones, I personally chose the colorway Titan. I’ve been on a bit of an orange kick lately and this color was perfect.
Where to Find the Pattern
You can scroll down for the complete pattern, or you can purchase the ad free PDF for easy printing in my Etsy and Ravelry shops. I hope if you decide to make it, you will share your WIP pics and finished projects on Instagram – I love to repost what you make! Just tag me @hookedhazel or use the hashtag #julesponcho in your post.
More Free Summer Patterns
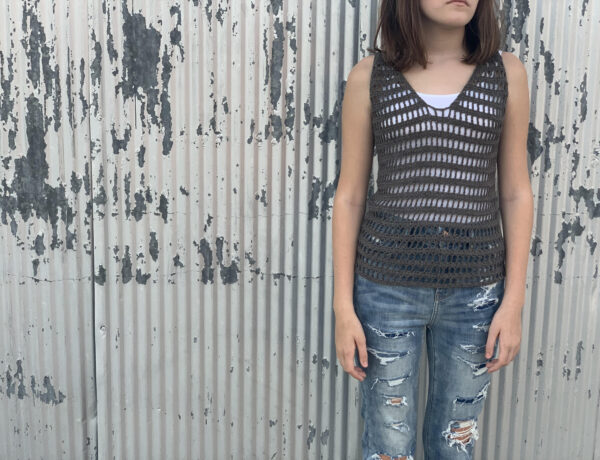
Grady Tank – Free Crochet Pattern
July is wrapping up and I’m releasing my final summery pattern of 2020! This…
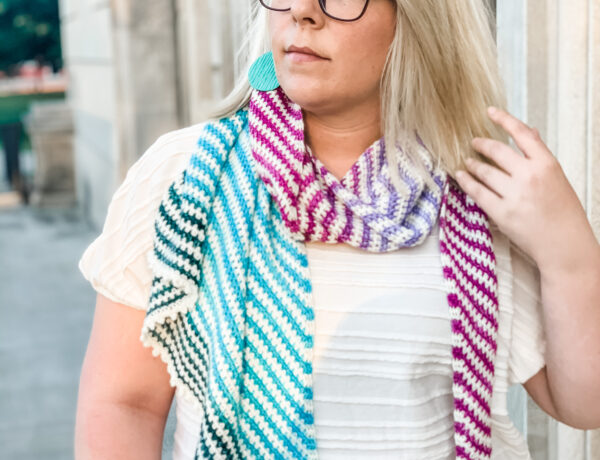
July 29, 2020Blank Space Shawl – Free Crochet Pattern
This post contains affiliate links, through which I may earn a small commission at…
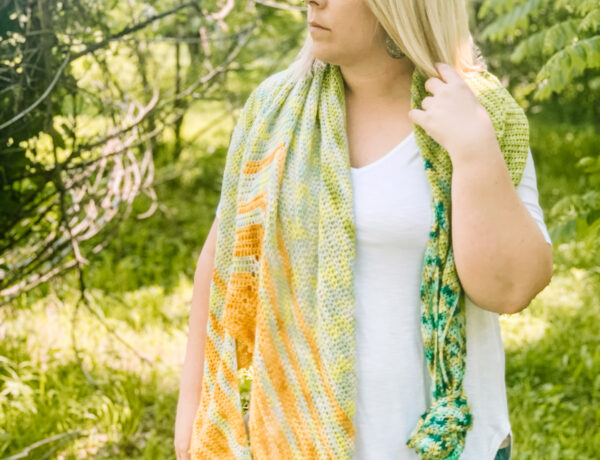
June 28, 2020Faded April Showers Wrap – Free Pattern
So my original plan for the Faded April Showers Wrap was to release it…
June 5, 2020Materials & Notions Needed
WeCrochet Galileo, or similar sport weight yarn, 1100 (1300, 1450, 1700) yards
4.5 mm (US G+) crochet hook, or size needed to meet gauge
Darning needle
Scissors
Locking stitch markers (2)
Gauge
6 Y stitch by 6 rows = 4″
Abbreviations
ch – chain
st(s) – stitch(es)
sl st – slip stitch
fsc – foundation single crochet
sc – single crochet
dc – double crochet
tc – treble crochet
sk – skip
RS – right side
WS – wrong side
Sizes
For bust sizes up to 34 (35 – 42, 43 – 50, 51 – 62)”.
Measurements
Width: 34 (37, 40, 42 )”
Length: 25 (25, 28, 28)”
Notes
- Poncho is worked in one piece, with no seaming required.
- The front panel is crocheted directly onto the back panel at the beginning edge.
- Ch 1 does not count as a st.
- Ch 3 counts as a tc unless otherwise noted.
- On rows where you sl st, these slst are not counted as sts unless otherwise noted.
- St counts are indicated in < > where there is a change.
- Pattern is written with smallest size first, with additional sizes in parentheses as follows; 1 (2, 3, 4)
- Each size
- You may increase or decrease the length of your poncho by adding or removing row repeats.
- Additional length will result in additional yardage required.
- You may seam up the sides to create arm holes if you prefer your poncho not be open on the sides. Just seam from the bottom up, stopping about 2/3 of the way.
Special stitch
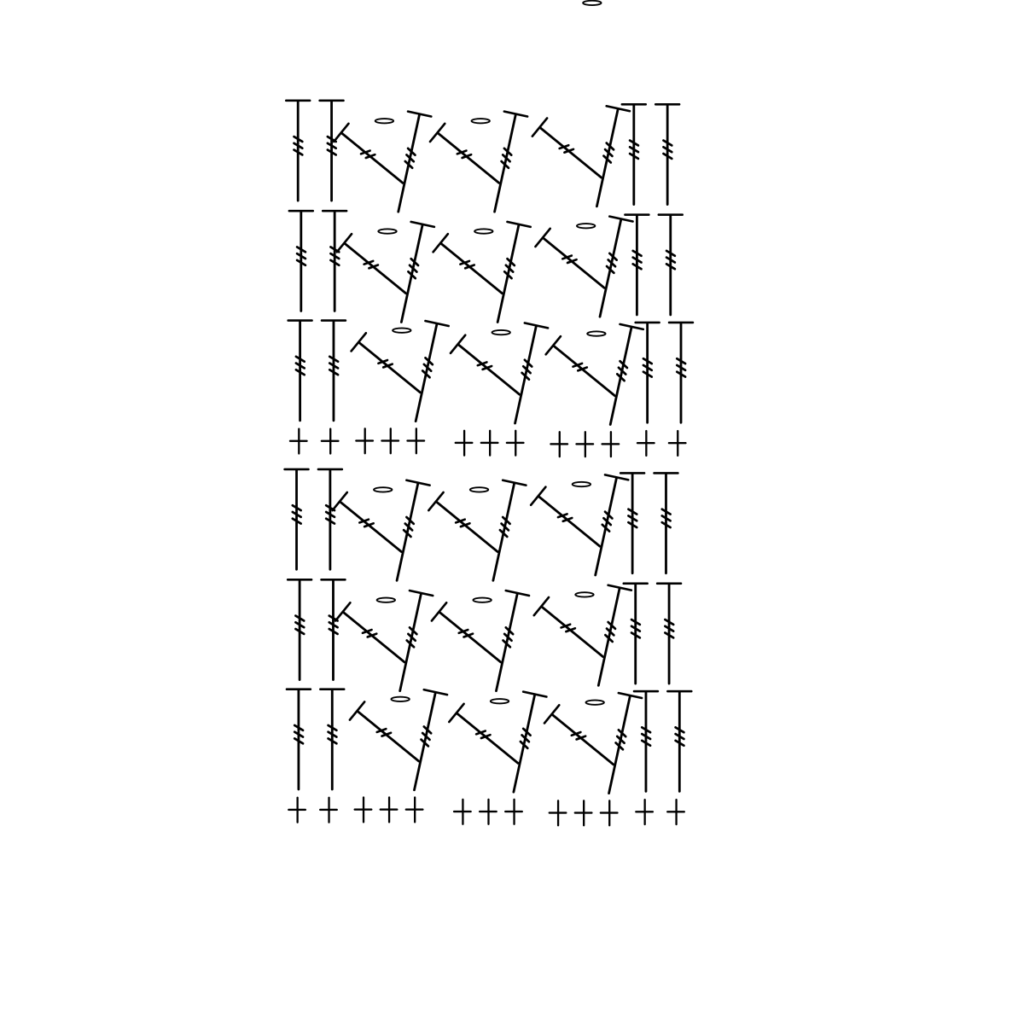
Y stitch:
1. Treble crochet into the desired stitch.
2. Chain 1.
3. Double crochet into the front two bottom bars of the treble you just made.
4. Skip next 2 stitches. The skip 2 written out in the pattern is this skip 2. Be sure not to skip 4 stitches.
On subsequent rows work your trebles into the chain spaces. A brief video tutorial is shown below, as well as a simple chart showing the stitch separated by the sc rows.
The Pattern
Back Panel
Row 1 (RS): Fsc 157 (169, 181, 193), turn. <157, 169, 181, 193 fsc>
Row 2 (WS): Ch 3 (counts as a tc, here and throughout), tc 1, *Y st in next st, sk 2*, repeat from * to * until 2 sts remain, tc 2, turn. <51, 55, 59, 63 Y st, 4 tc>
Row 3: Ch 3, tc 1, Y st in every ch 1 sp across, tc 2, turn.
Row 4: Repeat row 3.
Row 5: Ch 1, sc in every st and ch sp across, turn.. <157, 169, 181, 193 sc>
Rows 6 – 45 (45, 49, 49): Repeat rows 2 – 5.
Fasten off.
Front Panel
With WS facing you, working along the fsc edge, count in 62 (65, 71, 74) sts from the right side, and mark this st with your st marker. Repeat on left side. Connect yarn in first st at the right side.
Row 1: Ch 3, tc 1, *Y st in next st, sk 2*, repeat from * to * until you reach your first st marker, fsc 33 (39, 39, 45), Y st in marked st, sk 2, *Y st in next st, sk 2*, repeat from * to * until 2 sts remain, tc 2, turn. <40, 42, 46, 48Y st>
Row 2: Ch 3 (counts as a tc, here and throughout), tc 1, *Y st in next st, sk 2*, repeat from * to * until 2 sts remain, tc 2, turn. <51, 55, 59, 63 Y st, 4 tc>
Row 3: Ch 3, tc 1, Y st in every ch 1 sp across, tc 2, turn.
Row 4: Ch 1, sc in every st and ch sp across, turn.. <157, 169, 181, 193 sc>
Row 5: Ch 3, tc 1, *Y st in next st, sk 2*, repeat from * to * until 2 sts remain, tc 2, turn. <51, 55, 59, 63 Y st, 4 tc>
Row 6: Ch 3, tc 1, Y st in every ch 1 sp across, tc 2, turn.
Row 7: Repeat row 3.
Row 8: Ch 1, sc in every st and ch sp across, turn.. <157, 169, 181, 193 sc>
Rows 9 – 44 (44, 48, 48): Repeat rows 5 – 8.
Fasten off.
Finishing
Weave in all ends. Lightly steam block to open up stitches.
